Quiénes somos
Grupos de investigación
Formación
Recursos
Agenda
Advanced search
Home
>
Quiénes somos
> Image gallery
Noticias
Noticias
Zona del Investigador
Zona del Investigador
Photo gallery
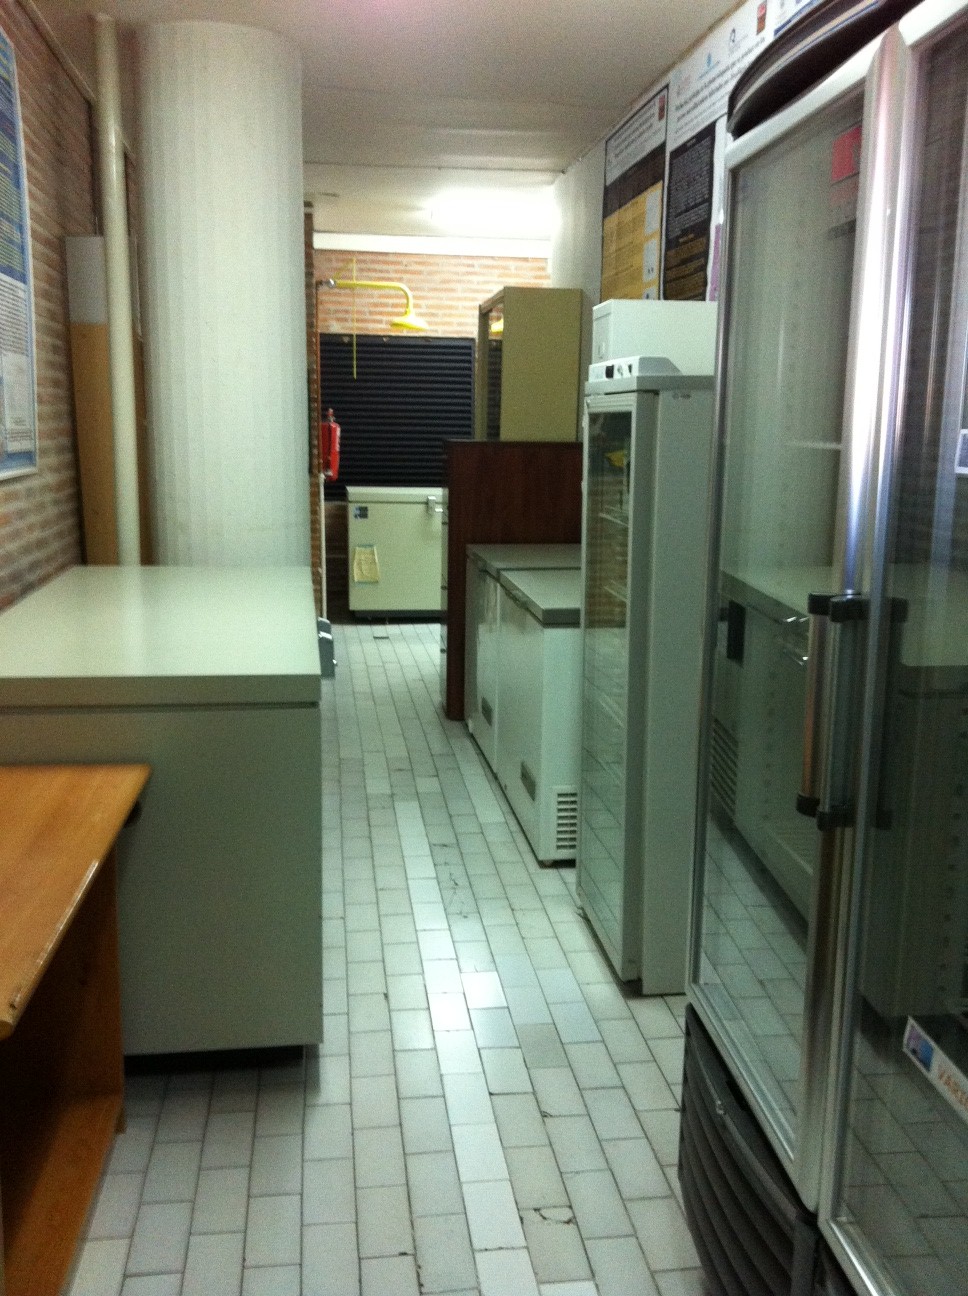
Laboratorio 2
Laboratorio 2.JPG
Previous
8
of
10
Next
Hospital Universitario de Salamanca - Edificio Virgen de la Vega. Décima Planta
Pº de San Vicente 58-182 37007 Salamanca
Teléfono: 923291100 Ext.55113 923090470/923090471 Fax: 923291113 e-mail: secretaria@ibsal.es
Mapa web
Aviso legal
© IBSAL All rights reserved

